Oct 252012


Now that the stretcher is flat, I decided upon the final curve using the grain. I found that bending a thin piece of wood around four nails did the trick.
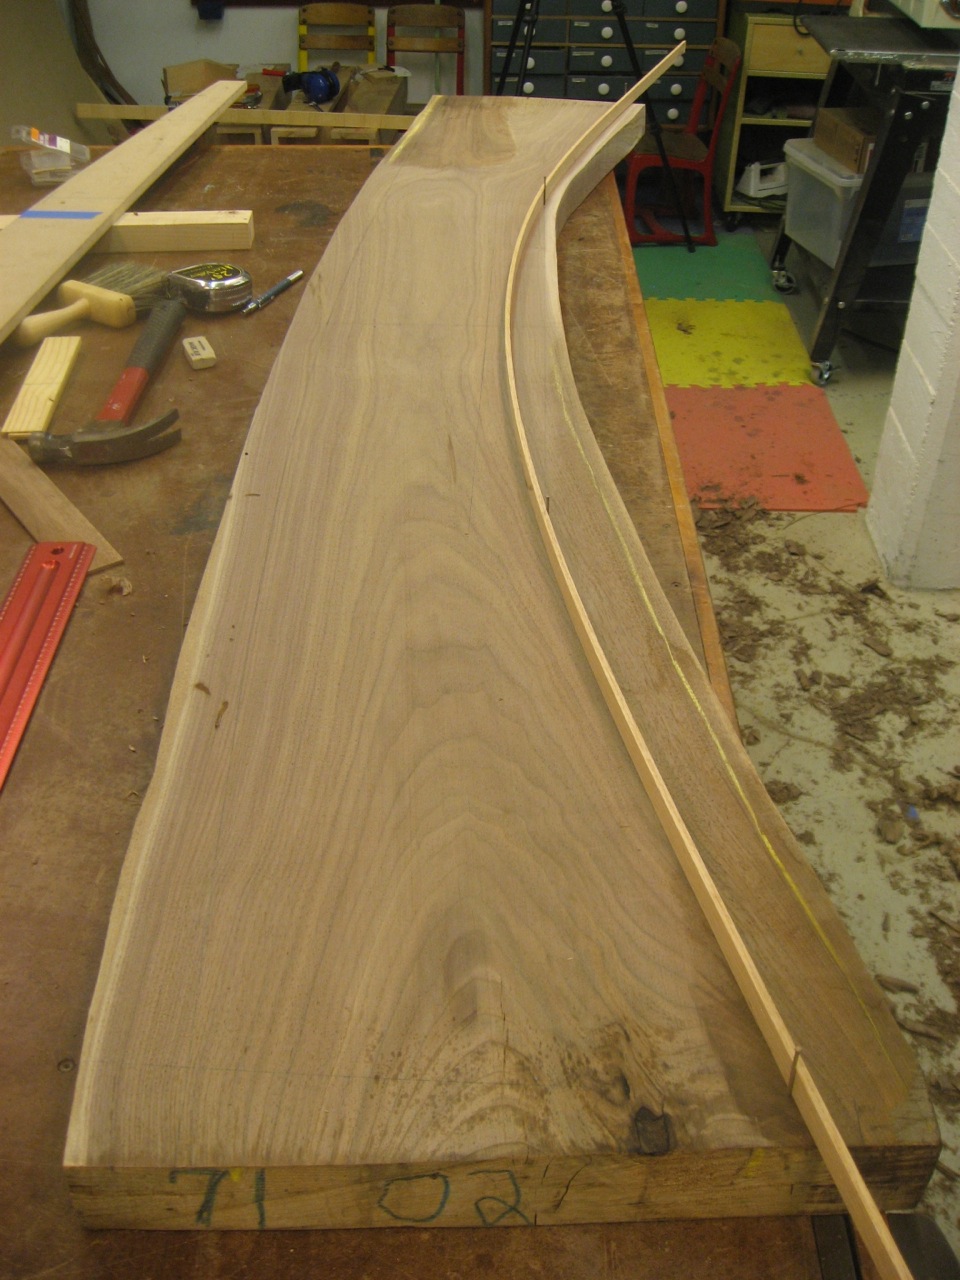
A flexible piece of wood bent around four nails defines the curve.
Here you can see the curve following the grain.
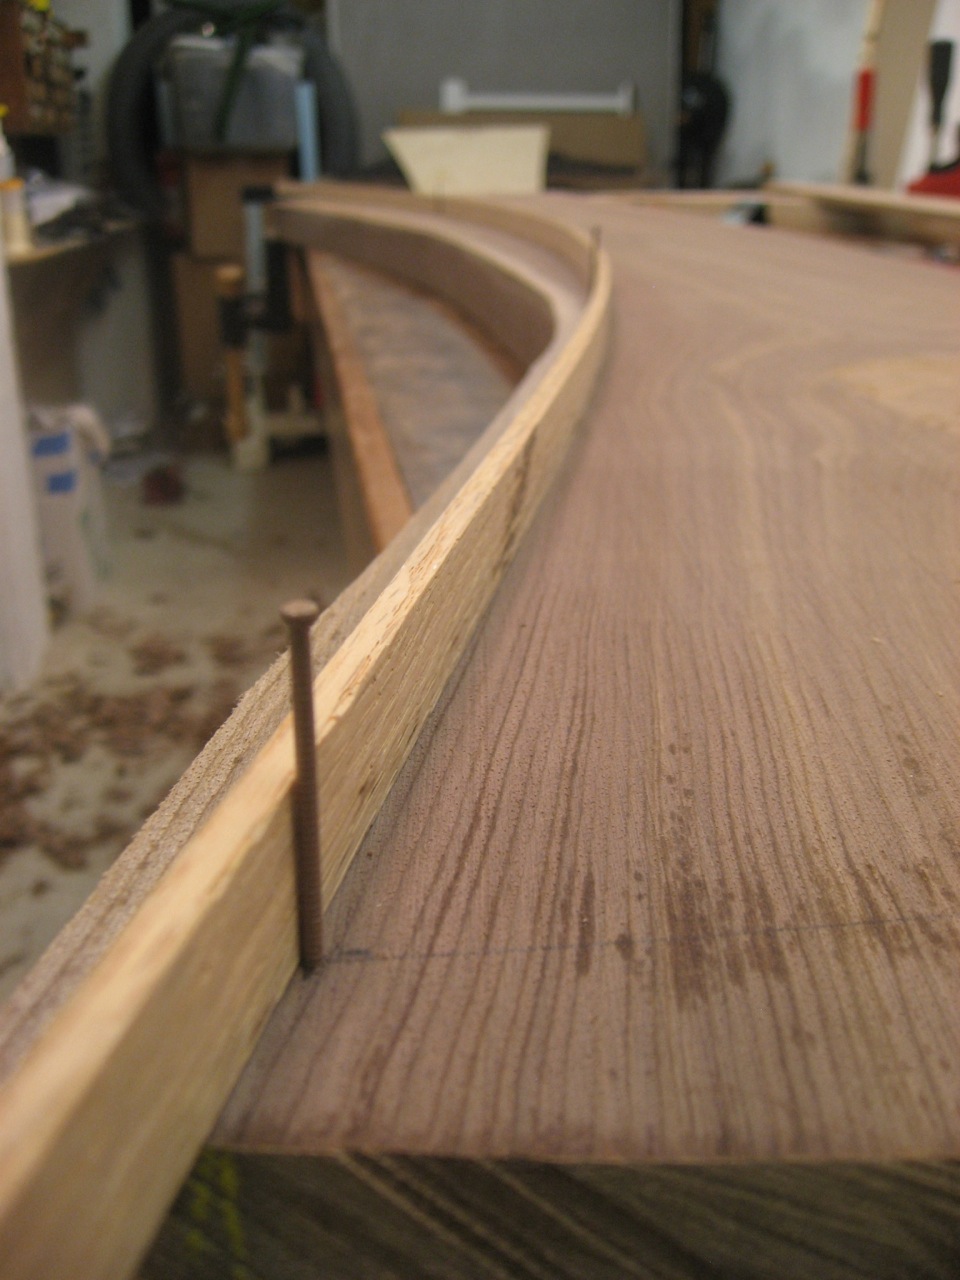
The curve follows the grain
Back to the bandsaw to remove the waste.
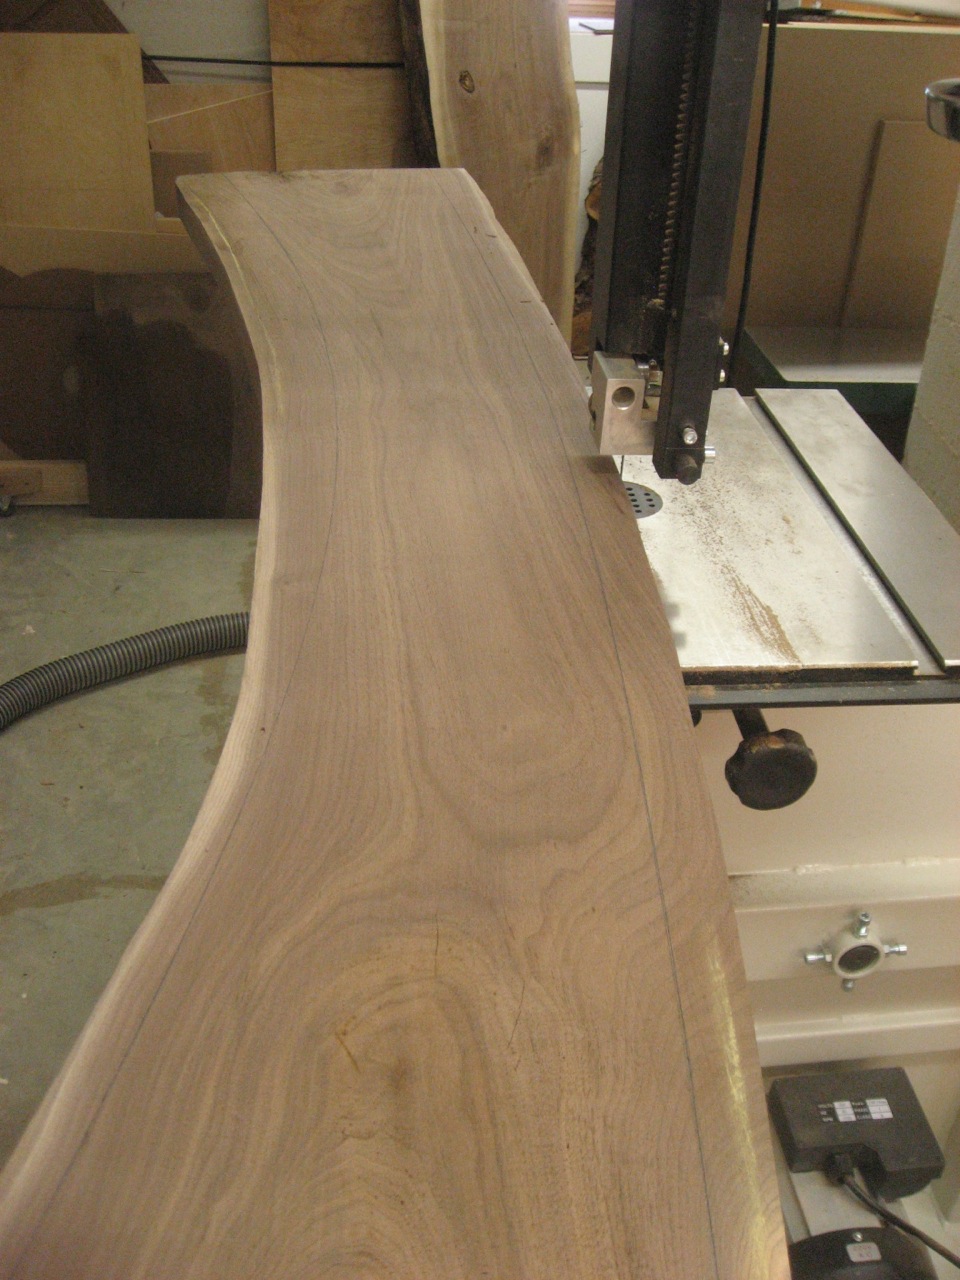
The bandsaw quickly removes the waste beyond the traced curves.
The convex section I could clean up with a hand plane, providing a really nice smooth edge.
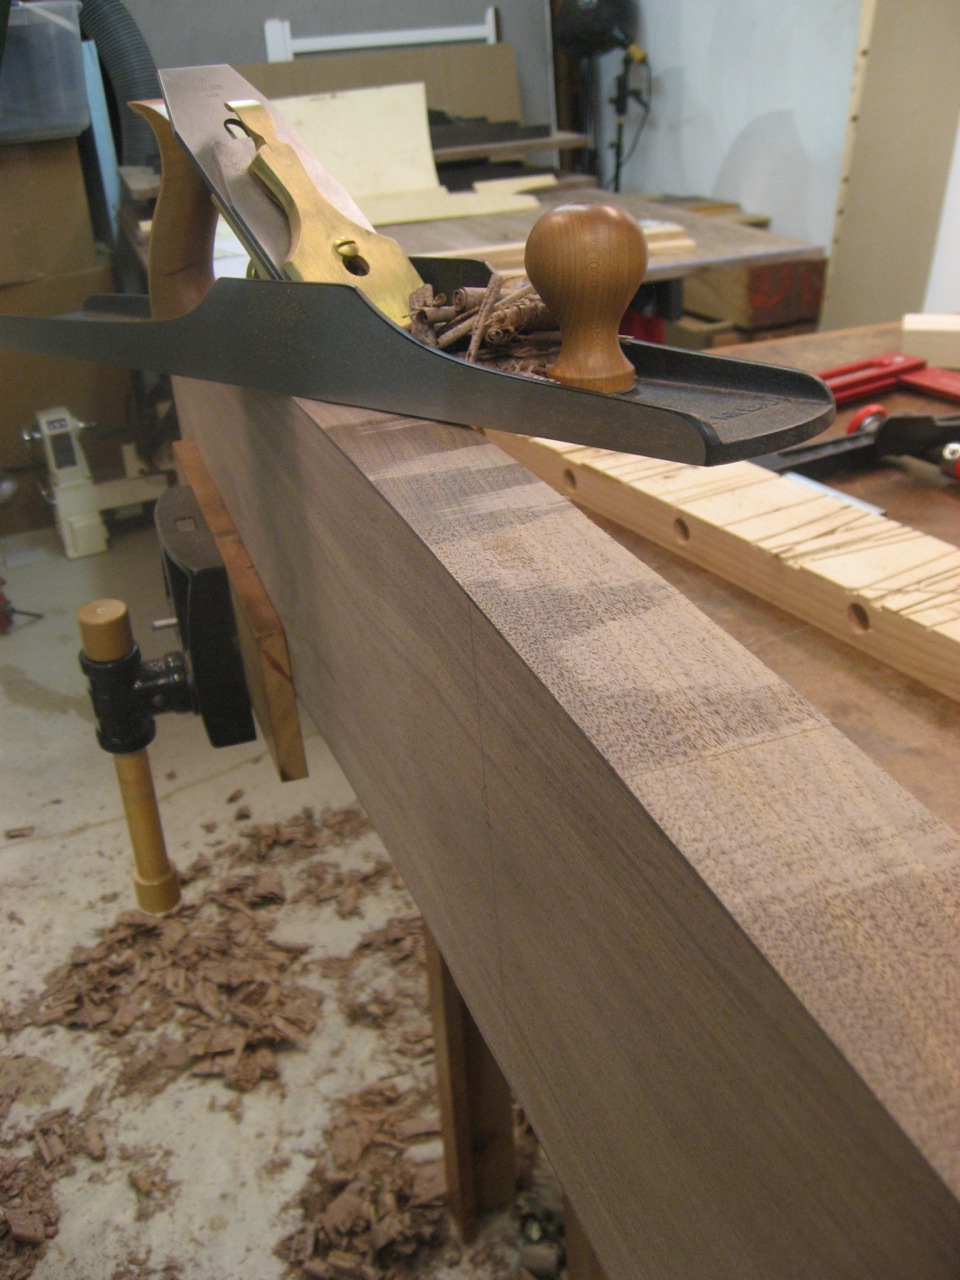
A Lie-Nielsen #7 cleans up the convex surface.
Unfortunately I don’t have a compass plane for the concave side. I went with a flexible sanding strip. I’ve used rasps and spokeshaves in the past as well.
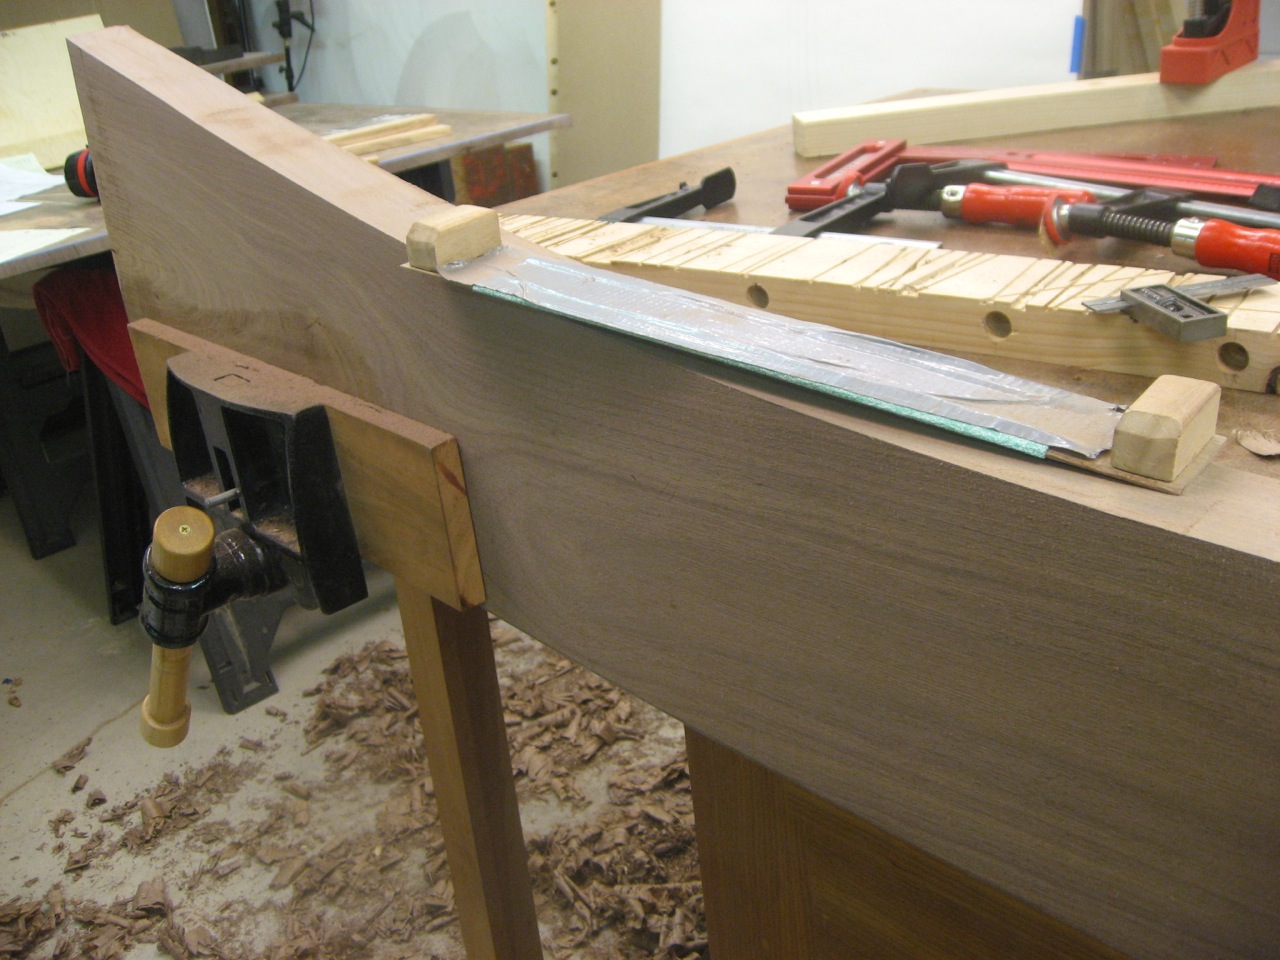
A flexible sanding strip cleans up the concave surface.
[…] Tips, Workshops & Instructors Oct 302012 I need to add a tenon to each end of the curved stretcher. I use my full-scale drawing to find the tenon locations. The tenon is defined from the full-scale […]