

Well my Maloof-inspired rocking chair is coming along. With some helpful input from Chuck Brock, a few tools bought, and a few tools borrowed, I can see a chair beginning to emerge. I am reminded of those partially completed statues (by Michelangelo, I think) where there is a figure trying to free itself from a block of marble.
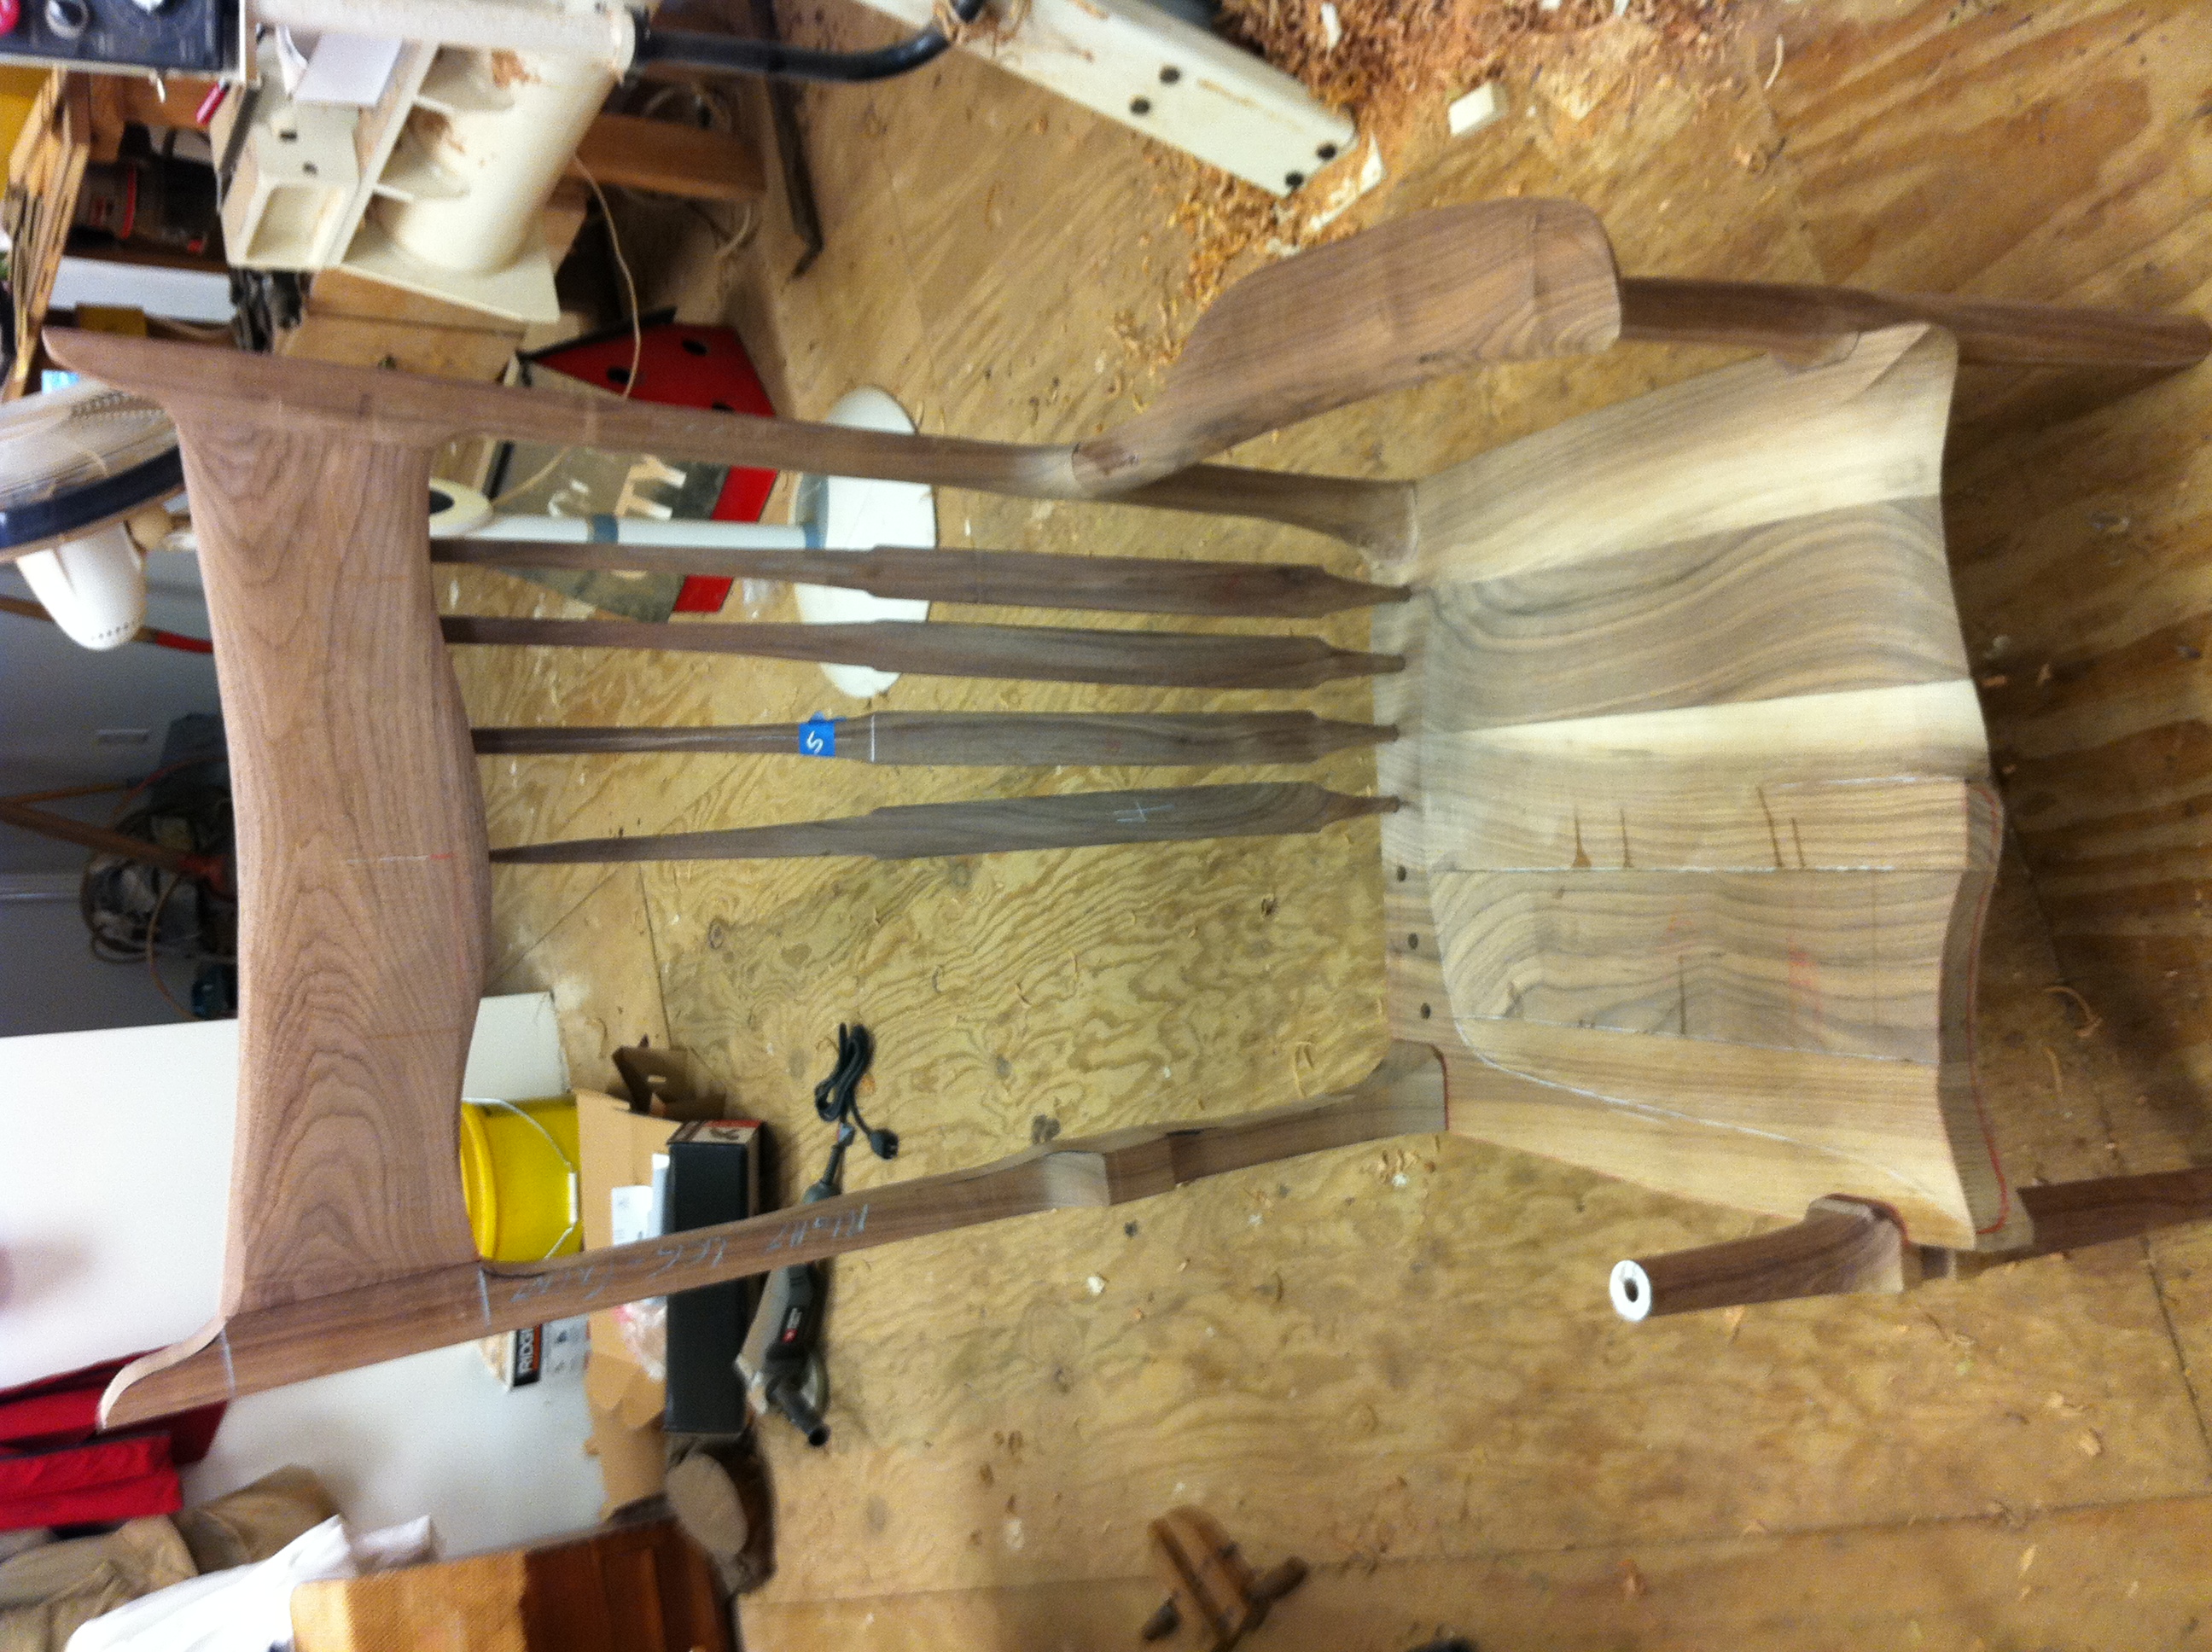
Spindles and Left Arm Shaped and Set in Place
Our plan right now is to go ahead and completely finish the left side of the chair, but leave the right side in the squared blocks the way they come in the kit. It is difficult to visualize the finished chair if you have never actually seen or touched one, and the contrast between the kit pieces and the finished chair is astounding. I think the contrast will be even more striking on opposite sides of the same chair. We’re going to display it in the store for a few months so you can come by and see it if you’re coming through Atlanta and are maybe thinking about buying either the walnut parts kit, or just the rocking chair plan bundle.
Hand tools are a joy. Now I know you have probably heard this your whole woodworking life (I know I have), and generally you probably took the same attitude I did, i.e. “Yeah, right!” The key I have found is the correct tool properly sharpened, and then the work is simply a joy. No face mask, no dust mask, no hearing protection, and that perfect little scraping or cutting noise all join to make a new (old) way of working wood.
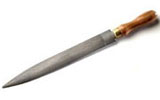
A Beautiful Rasp
With that in mind, I’m buying the Auriou rasps. Highland loaned me a couple to try out for a few weeks so I could work on the spindles and legs and these things are unbelievable. Chuck recommends the nine inch #10 Cabinet Maker’s Rasp and the seven-inch #13 Modeler’s Rasp. Both of these are flat on one side and round on the other, and you can do a lot of work with either one. These things are better than a router, so you need to be careful that you do not remove too much wood. Did you get that? Here is a hand tool where you have to be careful you don’t remove wood too fast.
Last summer when I took the Windsor Chair class in New Hampshire, I bought a beautiful little handcrafted spokeshave. I love that thing and I have been using it on the spindles in my chair kit. Since this wood is dry and sawn, as opposed to the green and rived wood on the Windsor, it is more difficult to shape using a spokeshave. Following the grain is critical, and you must change the direction of your stroke in order to cut downhill. It’s a lot like stroking a cat –if you rub a cat the wrong way, you get bit. Same thing here. But when you pay attention and hit it right, it is lovely.
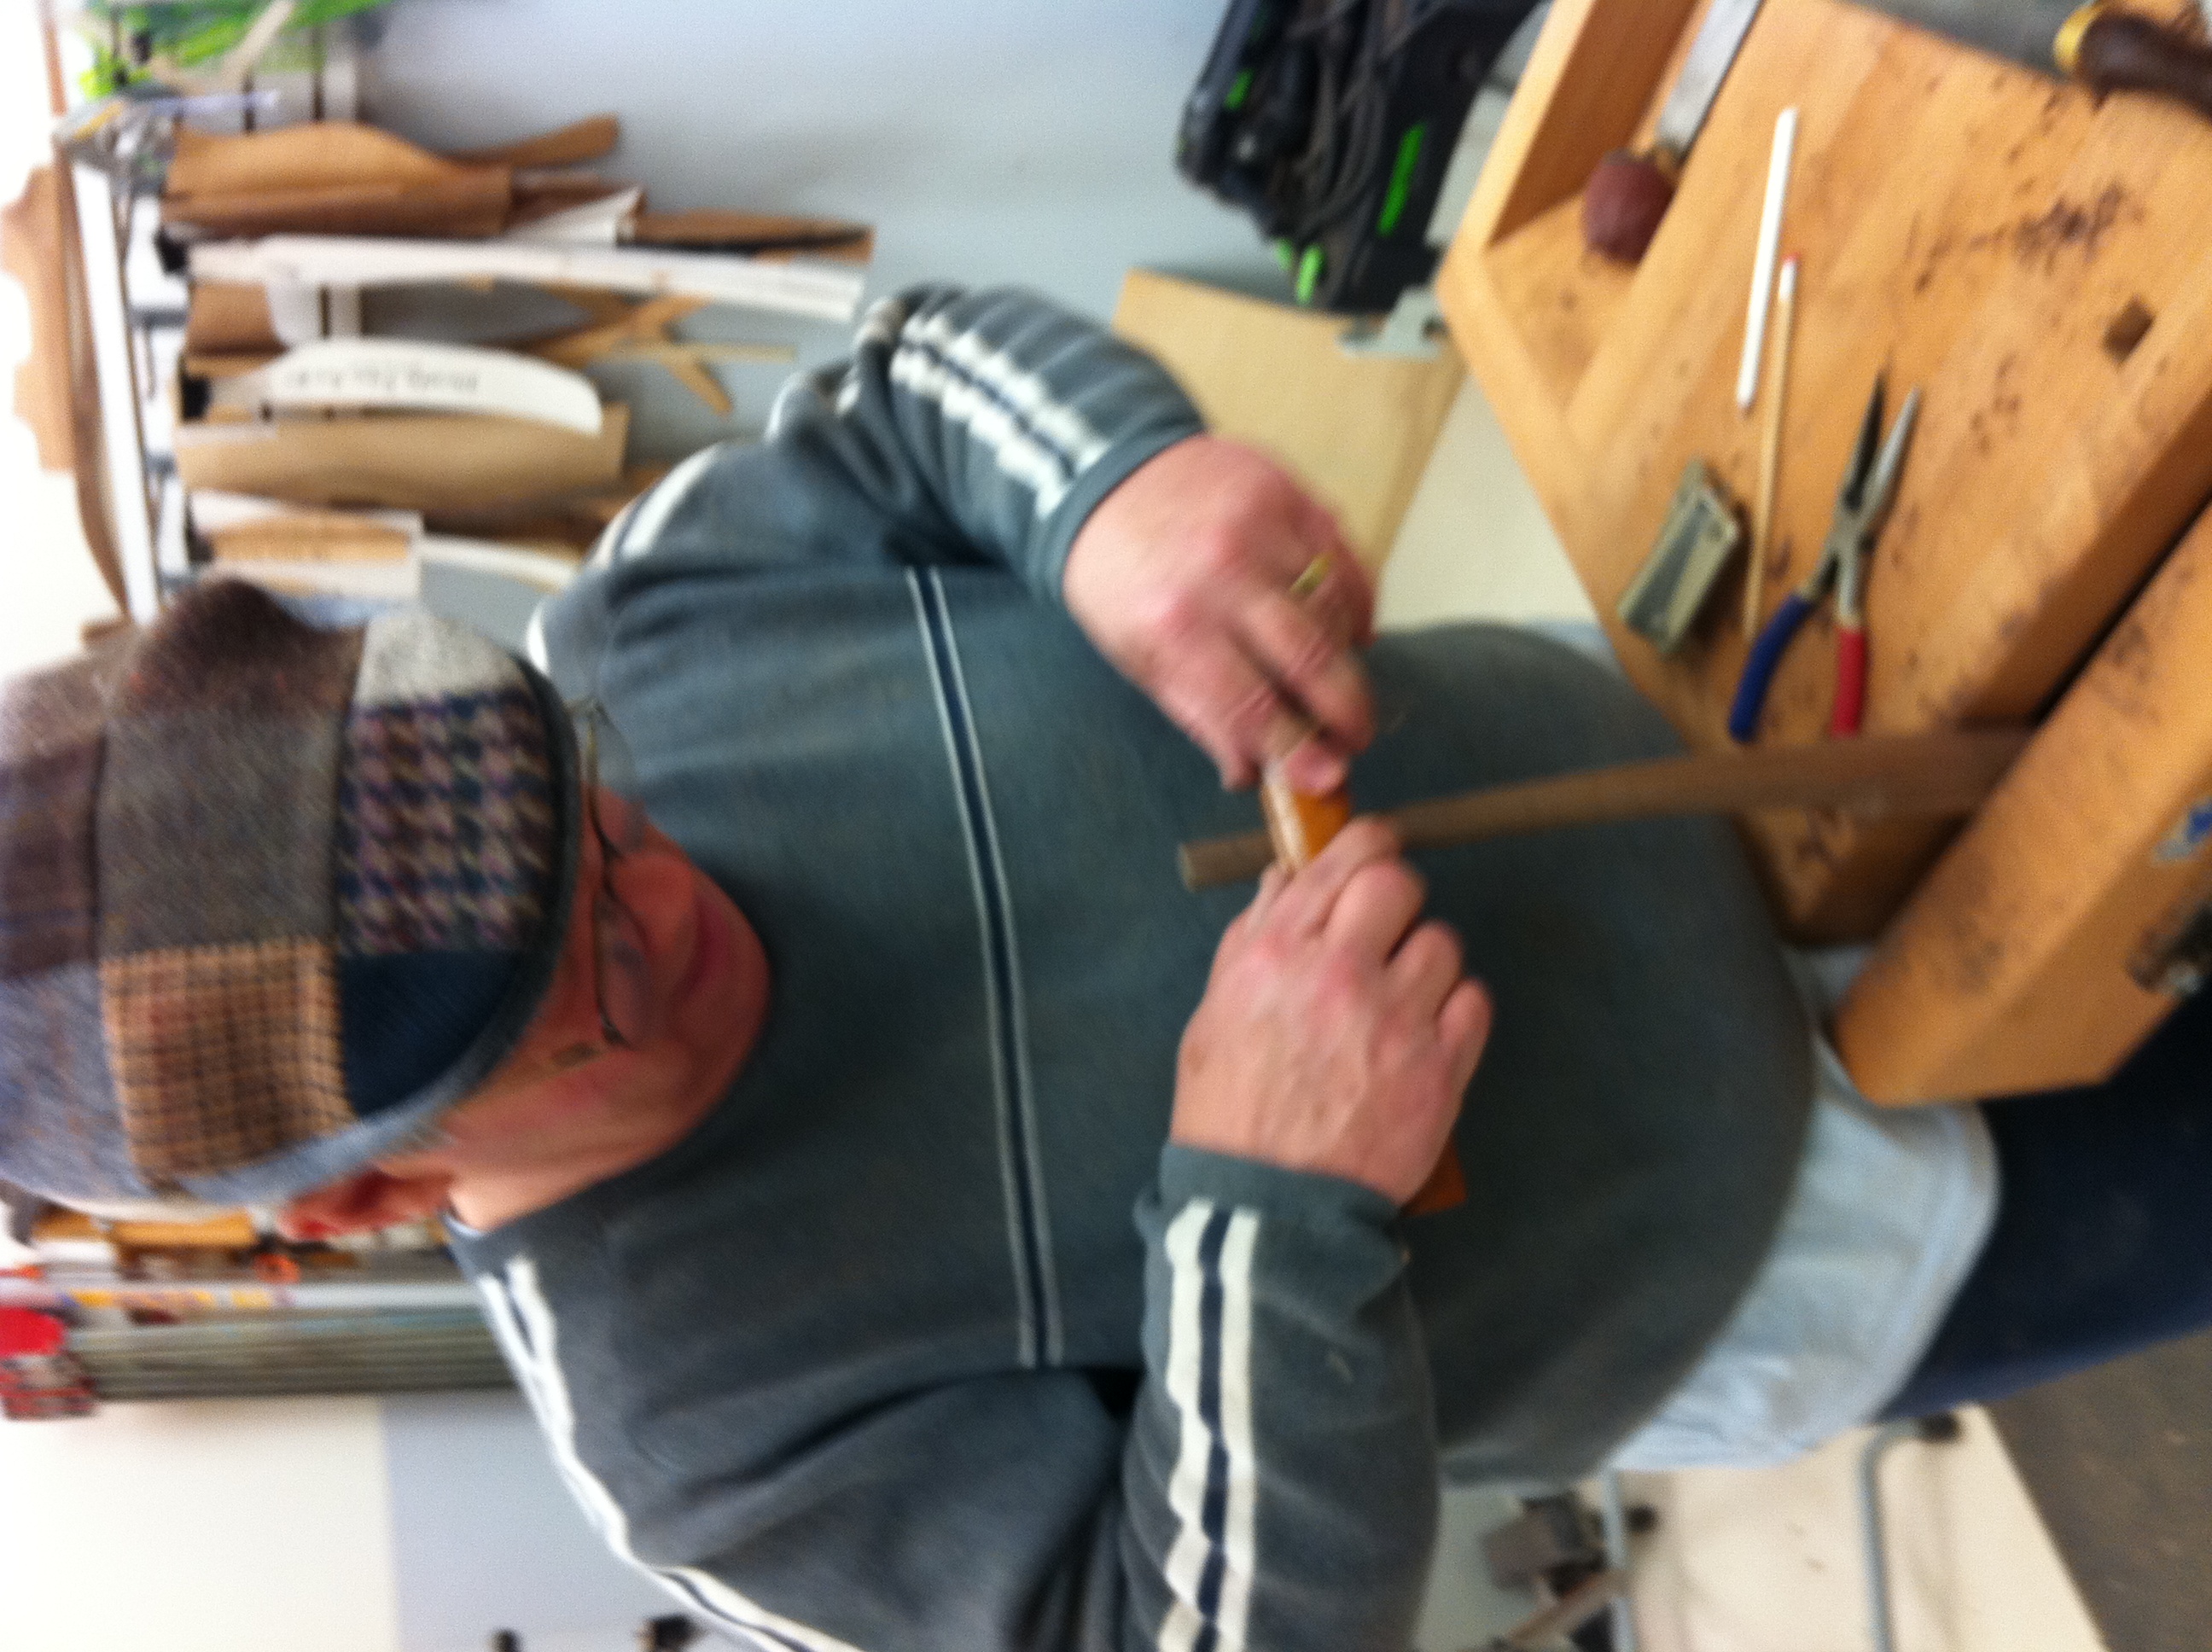
Chuck with a Spoke Shave on the Spindle
So far I have four of the seven spindles done and fitted to the chair. They are beautiful, if I do say so. I cut the rough shape of the spindles to the pattern in the kit plan with my band saw, and then used the spokeshave and the rasps to blend it all together. I used my new tenon cutters to make the correct size tenons on the ends of the spindles and mounted them (temporarily) to the chair. Half the seat is almost completed, and the left arm is close to completion. It’s beginning to look more and more like a chair.
Next up, rockers and sanding, sanding, sanding.
Total time so far:
18 hours plus three visits to Chuck’s Studio plus Chuck doing some of the work as part of filming a video
Tools:
Auriou Rasps – Borrowed
Tenon Cutters $55
Angle Grinder $50
Dowel-It Jig $55
Miller Drill Bit $19
Dowel Centers $3
CLICK HERE to read Terry’s next post on building the rocker kit.
Sorry, the comment form is closed at this time.